Have you ever thought about making your recipe's ingredient labels as clear as your favorite cookbook? Imagine setting up your kitchen tools before a big meal, every tool in its spot, measured just right.
In this post, we share simple steps to create ingredient labels that not only look tidy but also build trust with every reader. We'll talk about collecting the right details, converting measurements for easy understanding, and picking the best tool for the job. The goal is to make your recipes feel as inviting as a well-organized kitchen.
Step-by-Step Process to Make an Ingredient Label

Start by gathering every detail about your recipe. Write down each ingredient with its source, measurement, and purpose. If you're using cups or spoons, convert them into grams or milliliters so everything is crystal clear. For example, if the recipe calls for 2 kg of ripe tomatoes, jot that down precisely.
Then, pick a tool that works for you, maybe an Excel sheet or a simple word template. Picture it like setting out your ingredients on the counter: first, you list what you need, then you arrange them neatly so every step is easy to follow.
Next, focus on the look of your label. Choose fonts that are easy to read and set up a layout that guides the eye naturally. Don't forget to add nutritional and allergen info too. Listing ingredients by weight from most to least not only makes sense but also builds trust with anyone reading it.
Finally, print a sample label and give it a good look over. Check that the font sizes, colors, and overall design meet the standards you need. Make any tweaks if necessary, then use a reliable printer or label maker to produce labels that are both durable and visually appealing.
Organizing Ingredient Data and Measurements for Accurate Labeling

When you're setting up your recipe label, think of organizing your ingredient data like laying out your kitchen tools neatly before cooking. Start by turning everyday measurements such as cups and spoons into standard measurements like kilograms, grams, or milliliters. For instance, if your dish calls for 2 kg of ripe red tomatoes, be sure to list it just as clearly on your recipe sheet. It’s handy to jot down these conversions as you go, like a note that says, "Write down 2 kg of tomatoes and arrange all items from heaviest to lightest."
By law, your ingredients need to be ordered from the heaviest to the lightest, and you can even use percentages to show each ingredient's share in the recipe. This step-by-step method not only follows legal rules but also makes it easier when you need to prepare a printable recipe label or an Excel sheet with all your food details. A simple six-step process works well: gather your details, convert the measurements into standard units, arrange the data neatly, check that it meets regulations, confirm everything is correct, and then refresh your digital or printed label.
Before you wrap things up, take a moment to double-check that each conversion is right, like making sure "1 cup water equals 237 g" is noted correctly.
| Unit | Equivalent | Notes |
|---|---|---|
| 1 cup water | 237 g | Liquid measurement |
| 1 cup sugar | 200 g | Granulated sugar |
| 1 tbsp | 15 mL | Standard tablespoon |
| 1 tsp | 5 mL | Standard teaspoon |
Choosing the Right Tools and Templates for Label Creation
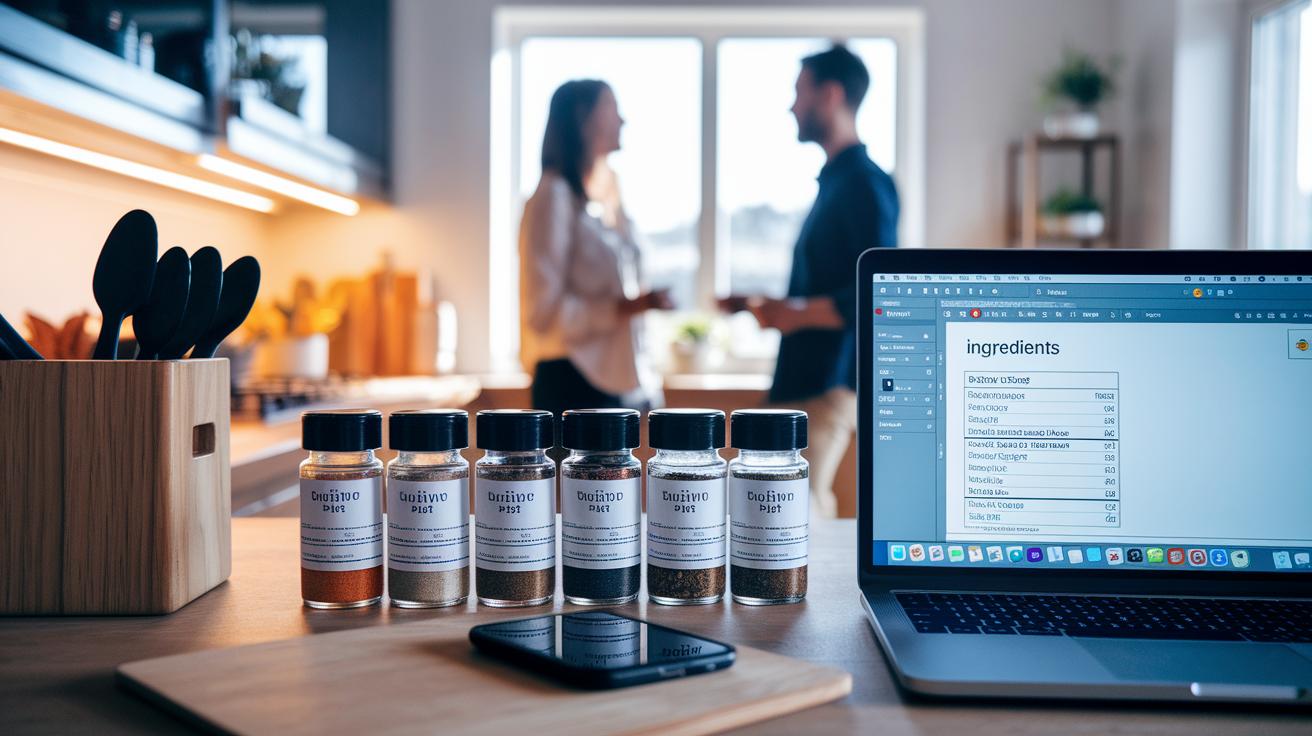
Making an ingredient label is a bit like setting out your spices before cooking. You need the right tools to keep everything neat and easy to find. Try a software that not only figures out the nutrition info but also gives you an editable design template for a polished look. For example, a word-based food label template might already have spots for ingredient details, allergen warnings, and nutritional facts, making your job a whole lot easier.
Then, check out free downloadable designs and digital food facts makers. These helpful options let you add your recipe details without any fuss. You might even want to try a recipe nutrition calculator app if your label is a bit complex. And if you prefer working in Excel, there are plenty of ready-made layouts that do the job just as well as a high-tech tool. Sometimes, all you need is to open your Excel layout and effortlessly fill in your data, the simplicity can really surprise you.
Finally, be sure your chosen tool works well with label makers for consistent, professional prints. When your system works both digitally and on paper, every measurement, from grams to milliliters, shows up clearly. This careful approach builds trust in your label and reassures customers about the quality and accuracy of your product.
Ensuring Regulatory Compliance and Label Accuracy
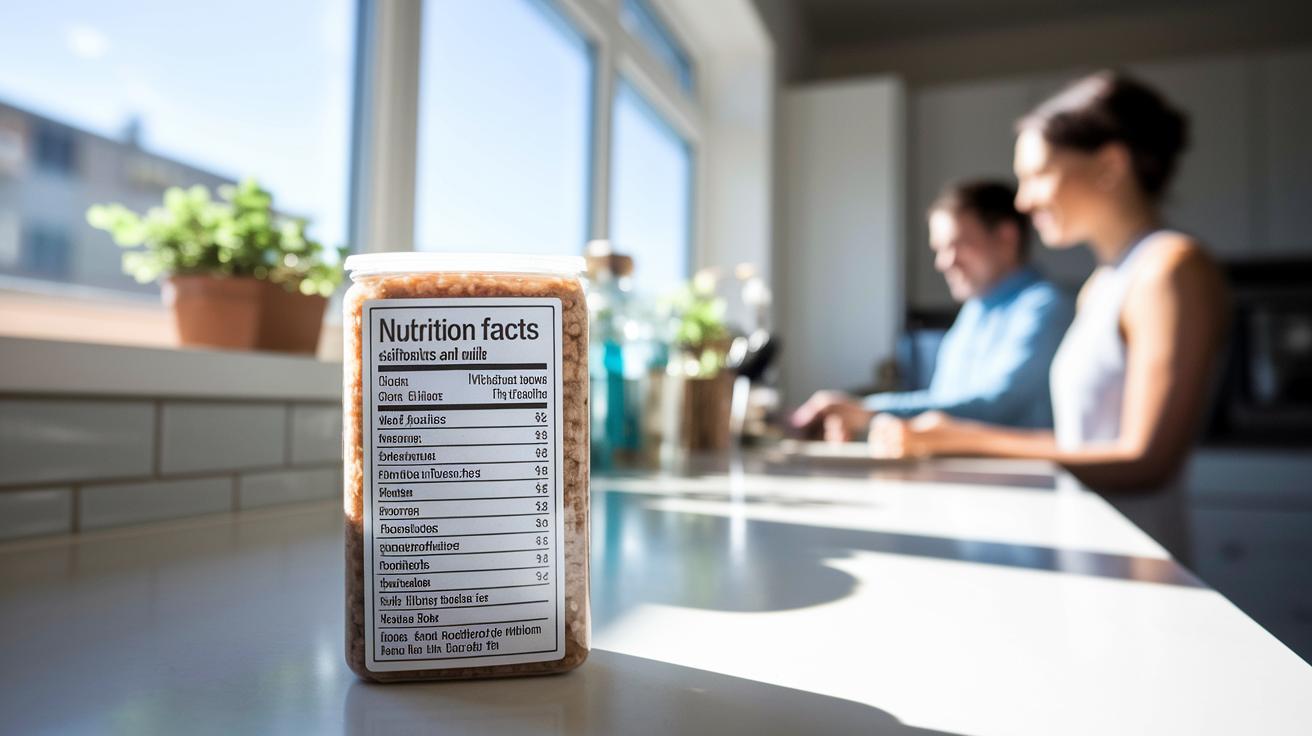
Food laws mean your labels must follow clear legal rules, just like following a trusty recipe. Your ingredients need to be listed from heaviest to lightest, and every label has to include a nutrition facts panel along with clear allergen information. For instance, if your product has nuts or dairy, you should say "Contains almonds and milk." Getting this right keeps you out of trouble with fines, recalls, and builds trust with your buyers.
Keeping your labels accurate is like carefully measuring spices for your favorite dish. Each measurement counts, imagine weighing 2 kg of fresh tomatoes compared to a sprinkle of herbs. Every detail should be double-checked and verified. Add quality assurance checks and even user testing, and make sure you review the label during each printing stage so every number and ingredient is easy to read.
And remember, compliance isn’t just about how the label looks; it’s about the whole process right up until your final product hits the shelves. Before you launch a product, make sure your label meets every regulatory requirement and that the nutritional facts are clearly displayed. Test prints and detailed reviews work like a final taste test in the kitchen, ensuring all guidelines are met and protecting you from costly mistakes.
A bit of extra quality control can go a long way. Try test prints under different lighting and packaging conditions to be sure everything is clear. Stay updated on any changes in the rules, and use feedback from consumers and internal audits as your guide, just as a chef adjusts seasoning based on a diner’s reaction. This extra care keeps your label accurate, safe, and always on point.
How to make an ingredient label: Clear Steps
First, start by choosing clear, simple fonts that make every detail easy to read. Pick a clean font that stands out like bold headlines on your favorite newspaper. Imagine the names of your ingredients popping with clarity so your eyes never get tired. Also, use colors that contrast well, like dark text on a light background, so your label stays easy to read even from far away.
Next, arrange your ingredients like you would set out your spices on a countertop. Use a neat grid with columns and rows to guide the eye, keeping enough space between each block to avoid a cluttered look. And don’t forget about the label material; a sturdy, moisture-proof material will keep your design looking fresh and bright, just like a well-organized spice rack.
Finally, mix in a dash of color to tie everything together. A high-contrast color scheme not only makes your list pop but also gives your label that professional, handmade look that instantly draws you in.
Best Practices for Printing, Testing, and Applying Your Ingredient Labels

When printing your ingredient labels, go for high resolution so every detail shines through like the perfect garnish on your dish. Our quality control already handles the basics like printing checks and compliance, so here’s how you can add that extra burst of flavor to your labels.
- Set your printer and label maker to high-resolution mode, just like preheating your oven to get the right crisp on a sourdough crust.
- Print a few sample labels and take a good look at them under different lights and on various surfaces. Check that the fonts are just right, the colors pop like fresh veggies, and the material feels sturdy.
- Put your labels to the test by mimicking real-life conditions. Think of it as letting your bread cool just right, ensuring it lasts without getting soggy.
- Ask a small group to give their honest opinion. Imagine tasting a new recipe and noting every subtle hint; each piece of feedback can be the pinch of salt that perfects your work.
Blend these steps into your regular quality checks to keep things simple, efficient, and just right, like that well-loved family recipe.
Final Words
In the action, our guide broke down the process of creating an ingredient label, from gathering details and converting measurements to choosing the right tools and ensuring compliance. We walked through drafting, design, and quality checks to make sure every label is both accurate and appealing.
With these insights, you now know how to make an ingredient label that stands out. Enjoy bringing creativity and precision to every dish you serve.
FAQ
Frequently Asked Questions
How can I use free ingredient label generators and templates?
Using free ingredient label generators and templates, you can quickly create professional labels by inputting your ingredient details and adjusting the design, making it a handy tool for streamlined food packaging.
How do I make an ingredient label for food and create my own product labels?
Making an ingredient label for food involves gathering accurate details, choosing a design tool or template, and following a clear process, which is similar to creating your own product labels by ensuring all required information is included.
What are custom ingredient labels and ingredient label stickers?
Custom ingredient labels and stickers let you design packaging that fits your brand identity, offering flexibility in fonts, colors, and sizes while providing a unique and professional appearance for your product.
What is the 5/20 rule for food labels and how do I ensure compliance?
The 5/20 rule for food labels refers to specific size and layout guidelines ensuring clarity; by following regulatory requirements like listing ingredients in descending order and including nutritional info, you meet compliance standards.
How do I effectively label my homemade products?
Effectively labeling homemade products starts with collecting accurate ingredient and nutritional data, using clear and accessible design templates, and making sure your labels meet all legal guidelines for consumer safety.